Checklist (Legacy)
- Creggan Gjestland (Unlicensed)
- Thomas Han
- Michael Ebstein
The checklist feature allows you to create a list of things you want you to double-check when preparing a bid. Each room in your drawing has it's own checklist and the items on the checklist can vary depending on the type of product. This allows you to have a checklist item for "seal" or "re-grout" which only appears for rooms that contain a tile product.
1. Room Checklist
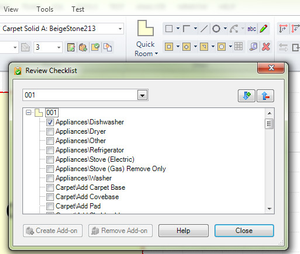
To view the checklist, select one or more rooms and choose Checklist on the Home tab.

As you review the list of checklist items, check those that apply to this room. It's possible that a checklist item will remind you of an add-on product or service item that needs to be added. If so, check that item and then select Create Add-on. This gives you the ability to create the add-on immediately and then continue down the checklist.
The checklist items can be printed using the Checklist report.
2. Customizing the checklist
You can customize the checklist to match your business and services.
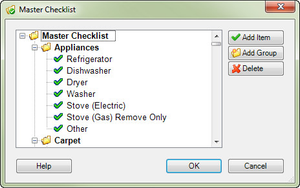
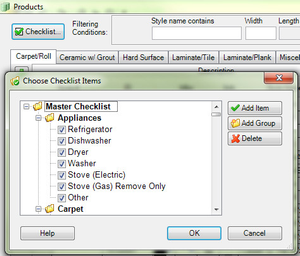
| Step 1 - Use the Master Checklist to define all the possible checklist items for your company. You can organize the checklist items into groups. This feature is found on the Tools tab. | Step 2 - Define which checklist items are valid for each product type. Select a tab in the Products dialog and click Checklist... Checking an item here means that item should appear in the checklist for rooms of this type. | Step 3 - Now, when you select a room of that type and choose Checklist on the Home tab, the checklist will contain your custom items for the product type of the selected room. |
 |  |  |